
SEP
How To: Make A Quilt. Kinda.
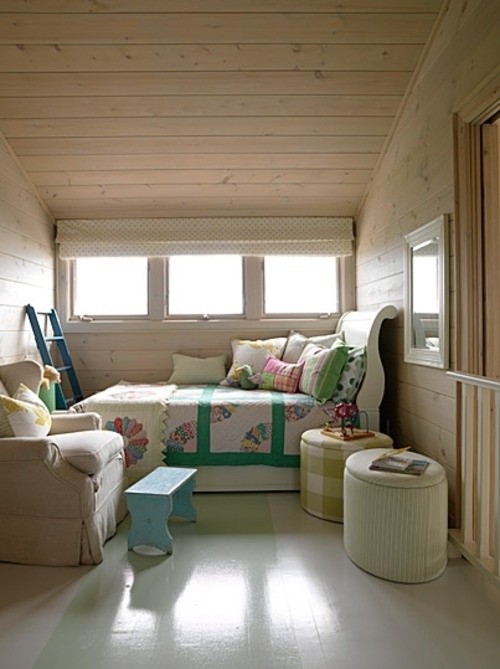
Image found at Pinterest
During four years of design school you acquire a lot of stuff. A lot of the time designers and firms will donate their unused samples to local schools for the students to use and you end up with a resource library. While students are working on projects they order samples of their own, beg, borrow, and steal or whatever they need to do so that their project gets done by the deadline. So what do we do with all of these samples that we acquire and don’t use? Well at first they were all stored in a bin in my closet, then they got their own closet, then in the corner of my guest room, and before I graduated (and moved three times) they all lived in my in home studio. As a senior we re-donated them back to under classmen for their projects. As I was cleaning out my studio I found so many beautiful fabric samples that I just was not ready to get rid of. My bed was going to have more pillows than I knew what to do with!
That next weekend my mom and I were out for some early morning estate sales and I kept seeing all of these beautiful handmade quilts. The really unique ones that someone’s grandmother spent hours on. I could almost hear the stories of lazy afternoons and sick children wrapped in them. Then I saw some of the price tags! $150.00! Are you nuts?!
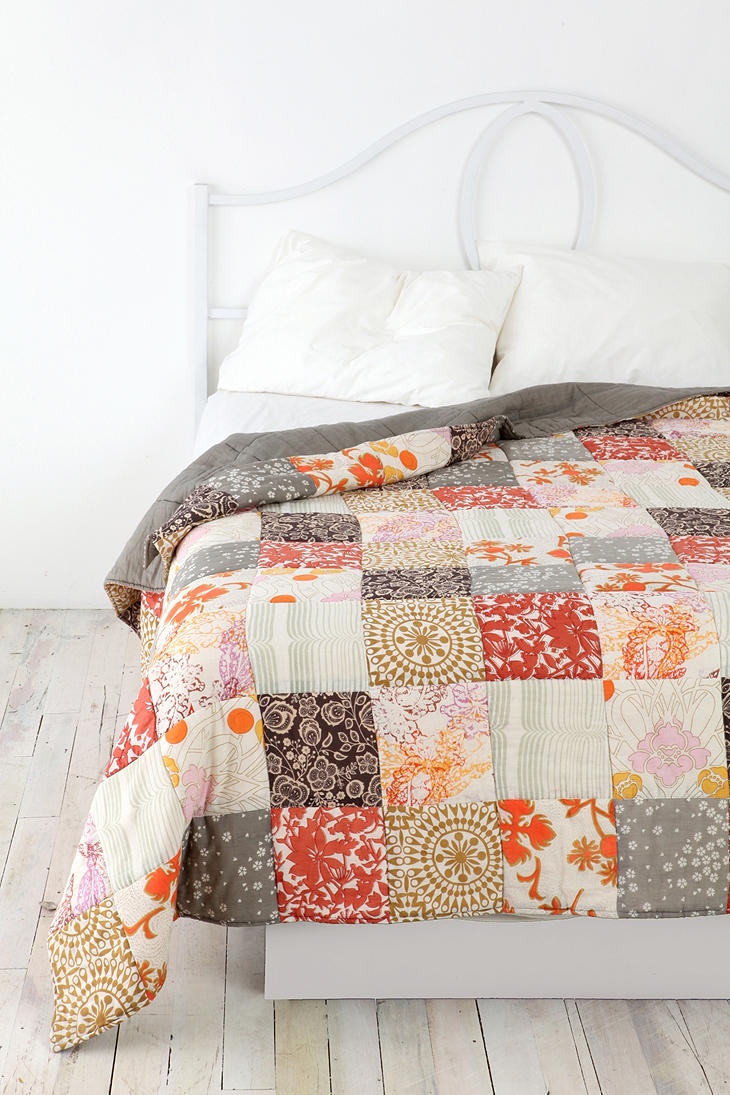
Image found at Pinterest
Then I got my bright idea, I would make one myself. I had all of these great fabric samples! Beautiful silks and hand stitched wool pieces that would have sold for several hundred dollars a yard back in their day. It was going to be luxurious.
Maybe now is where I should interject that I have never actually sewn a quilt before. I had never really sewn much of anything actually, besides a few throw pillows and some shortened slacks. So I did what I always do, I went online to find a tutorial! (If a tutorial exists, I feel confident that I can follow along. I mean, they are telling you exactly what to do.) So after delusions of grandeur I assembled my team.
A few weeks later Mom and I are packed in the car with our box of fabric headed to Grama’s house for a relaxing weekend of quilt making. So we thought. Now my grandmother had actually made a plan and even went and talked to a woman at a local quilting shop about how to get started.
So here we go, how to make a quilt. Kinda.
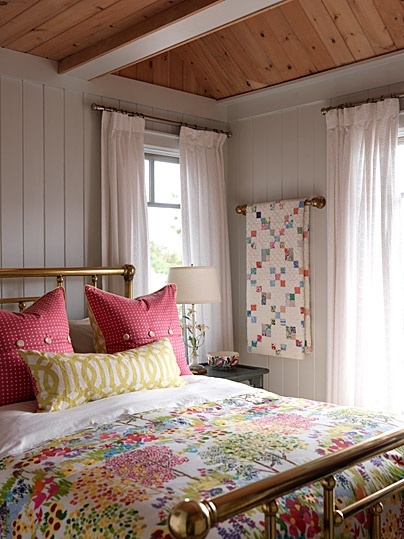
Image found at Pinterest
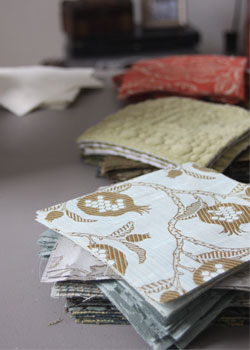
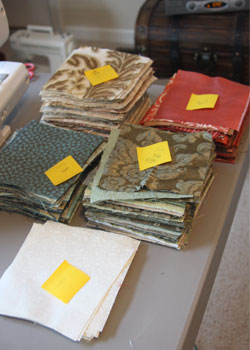
Step 1. Lay out all of your materials and talk about how pretty it is going to look when you get done.
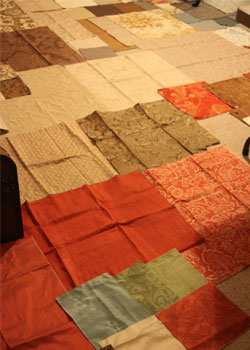
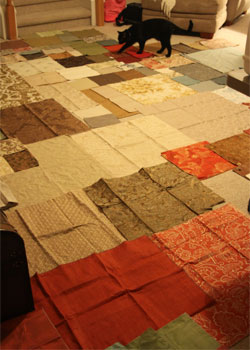
The cats enjoyed this part. That is all for day one. I mean, we did have to make the drive to Grama’s house (about 3 hours) the same day.
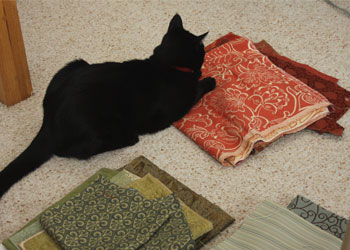
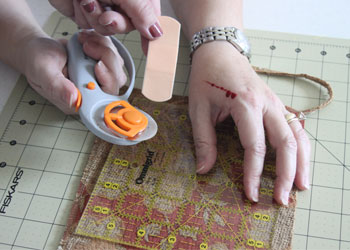
Step 2. Day two. All of the fabric samples that I had were odd sizes so we have to cut all of the fabric down to the same size. Caution, rotary cutters are very sharp. Mom learned the hard way. This was not the only bloodshed during the making of this quilt. DOZENS of stick pins were also cursed at.
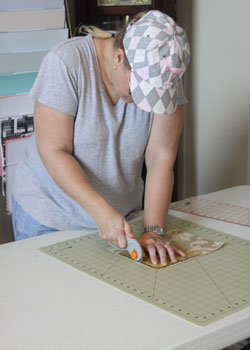

Alright, now we are getting somewhere! We sorted them into five basic color groups (since we were using so many different fabrics.)
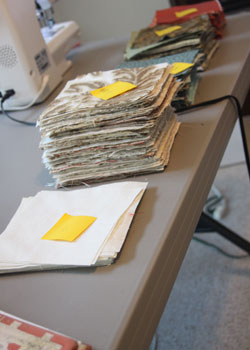
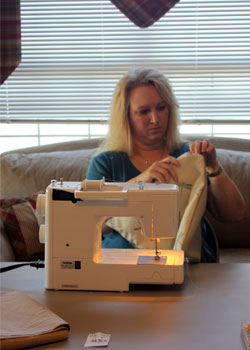
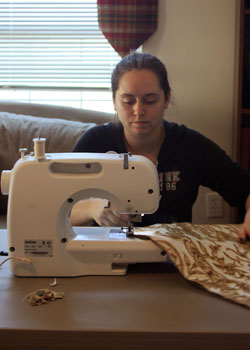
 Step 3. Begin the sewing. We went with grids of 9 (3×3) to start with. Iron, sew, stick yourself with a pin, then sew some more. This part goes on for several hours.

Step 4. Once you have your grids you get to rotary cut some more! It has lost its new toy appeal at this point but you have already come this far so we forged ahead.


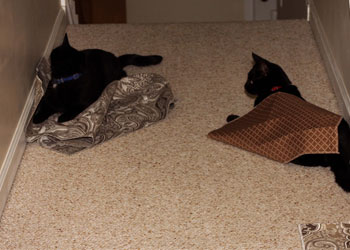
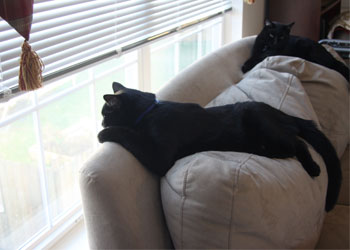 Even the cats are growing bored with us by the close of day two.
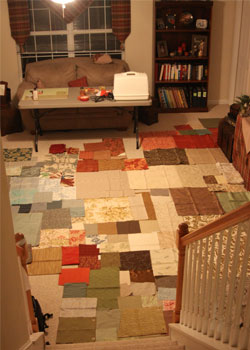
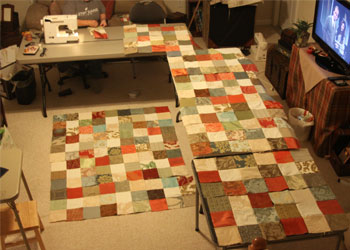
Step 5. Begin assembling the final product. We used a traditional (or so we were told) method of hanging the new cut grids on the wall to decide on color, placement etc. Then once you have the layout how you like it, you get to iron and sew, sew much more!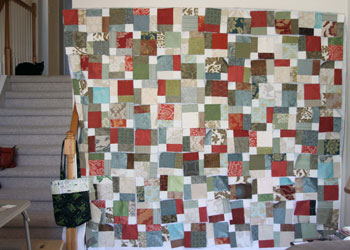
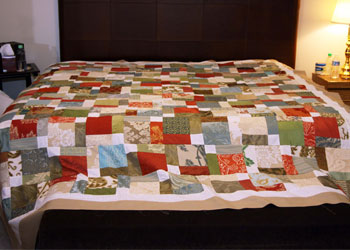
Step 6. We are well into day three at this point and it is finally looking like it might actually resemble a blanket! We add the borders and test it out on the bed to make sure our measurements (which we changed frequently) were correct. 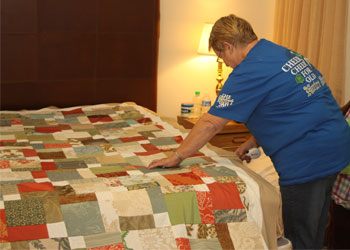
Our weekend was coming to a close and we had finally finished the top. We had to have the (formally) nice lady from the quilting shop to put the backing on for us because it would not fit in our standard sewing machines. When she claimed that all of the luxurious fabric that we used was not intended for quilting and broke her machine we decided she was not very nice anymore. She did a great job on the backing and we were happy to have it done. A few months later we traveled to see my Great-Grandmother who used to do embroidery work in her tailoring shop and had her add the date to the bottom corner making it a four generation project.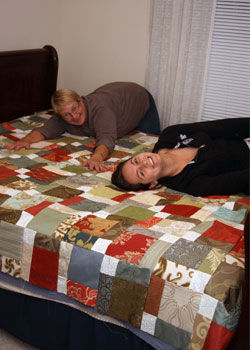
In the end, we spent about 100 HOURS working on the quilt. But think of all that money we saved (haha)! After all of the supplies we had to purchase: thread, cutting mats, rotary cutters, backing, and padding we were already several hundred dollars in this project. That $150.00 was looking like a bargain! It was way more labor intensive than we ever anticipated and now every time I see a quilt I have such an appreciation for the people who worked on it. All in all, we had a great time creating it and I have an heirloom that I will forever cherish. Oh yeah, I almost forget, we are prepared to make custom quilts for anyone interested. They all cost $1,500.00 and they ship in about two years!
I can attest to the above description of our *cough*attempt*cough* at quilt making. The mean professional quilt lady said we didn’t use the correct fabrics but, let me say, that is one beautiful quilt! She didn’t even show the custom pillow cases and matching pillows that coordinate
I think it turned out really beautiful. When I hit the lottery I would be happy to order one of your spectacular creations.
This was such a fun project and it turned out beautiful. I will add that you need a big room, several tables, a couple sewing machines, lots of patience and MATH SKILLS! I have never measured and calculated so many times to complete a project. Yes we used 3×3 squares to create a 9 block square BUT you have to allow for and calculate the depth of the seams with every step. Then you cut and start calculating again.
I am honored that Bridgette thinks Grandma can do anything but she certainly challenges me. She called another time and said, “I need your help recovering a chair this weekend.” (Another thing I had never tackled before!) We did it and it turned out pretty nice if I do say so myself.
Since I’m Grandma I’ll add this……Bridgette is my granddaughter and she makes me SO PROUD. Luv ya kiddo.
I want one for a present from the family so I don’t have to pay 😉
What a great family experience and the quilt is gorgeous, gorgeous, gorgeous. Am sure it’s even more gorgeous in person. Talent and perseverance create ART.